Running your own summer swim camp is more than just throwing the kids in the pool and letting them swim all day. An entertaining camp curriculum is an important key to a fun and successful summer swim camp!
Here are five activities geared towards little campers that you can include in your swim camp curriculum.
Handprint Crafts
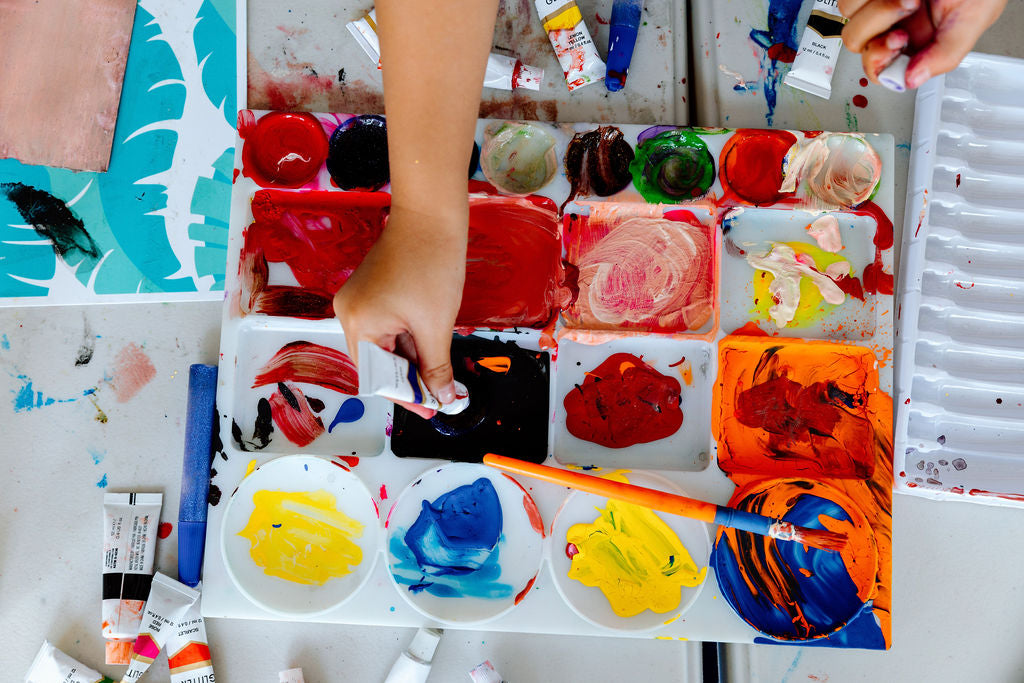
Who doesn’t love a cute, tiny little handprint? Handprint crafts are always a hit! They are a perfect memento of a summer full of fun and lifelong memories. They are also a very versatile craft that can be modified to fit any summer camp theme!
Here are some handprint Pirates our Makai campers made!

Aren’t they cute!
We used skin-safe fabric paint to decorate t-shirts, but normal washable paint can also be used on quality paper.
Want to give it a try?
Here’s what you’ll need:
- 3 paint brushes (1 brush works if you don't have 3 brushes. Just make sure to wash your brush in between paint colors.)
- Paper plates for paint pallets
- White paper (quality heavy-weight paper gives the best results)
- Paint- Red, black, and skin tone of your choice
- Baby wipes
- Black Sharpie
- Googly eyes (Optional. Remember glue if you use googly eyes.)
Here’s how to do it:
Step 1: Prepare your supplies!
- Squeeze out each color of paint on a paper plate and place one paintbrush in each color.
- Place your paper in front of your little pirate camper. Make sure to write their name on the back of their paper with pencil so they don’t get mixed up.
- Make sure you have those baby wipes handy!
Step 2: Paint your camper’s tiny hand.
- The red paint covers the thumb and heel of their hand.
- The skin tone goes on their palm.
- The black paint covers the length of all four of their remaining fingers.
Step 3: Make a handprint!
- Help your camper turn their hand over and place it onto the paper.
- Make sure they don't move! But help them squish their hand into the paper by applying pressure with your own hand for the best handprint.
- Help lift their hand carefully off the paper.
Step 4: Get that baby wipe!
- Use a baby wipe or a washrag to clean off your camper's hand before they get their paint fingerprints all over.
Step 5: Let them dry
- Let the handprint completely air dry before moving on to step 6.
Step 6: Add a cute face
- Use your Sharpie to add a face to the little handprint pirate. We like to add a cute smile, an eye, and, in true pirate fashion, an eye patch. Optionally, instead of drawing an eye, you can glue a googly eye.
Step 7: Add their name and date
- Always add the date to your campers’ art projects. Parents love to see a date when they look back on their kiddo’s crafts, especially if they’re handprints. Remember when their hand was so tiny?
- We also like to write their name for them in nice handwriting and something to remember camp by such as, “A Pirate’s Life” by Timmy 2023. It gives a nice finishing touch!
Bubble Painting
This is one of our favorite art projects because it brings so many smiles, “Oo’s”, and “Ah’s”! Your campers will be delightfully entertained while they create so many cool pieces of art.

Look how fun!
Here’s what you’ll need:
- Plenty of bubble solution (We usually get two 1-gallon jugs for about 16 campers just to be on the safe side.)
- Plastic cups (Count depends on how many colors you want.)
- Food coloring
- Watercolor paper (Quality matters for this project! Choose a nice heavy-weight paper.)
- Bubble blowers
Here’s how to do it:
Step 1: Prepare your supplies!
- Fill your cups a little over halfway with bubble solution.
- Add your desired food coloring to the bubble solution cups. You’ll need about 10-15 drops for nice saturation.
- Give your campers their watercolor paper. Make sure to write their name on the back of their paper with pencil so they don’t get mixed up.
- Let your campers choose their own bubble blowers.
Step 2: Let’s blow some bubbles!
- Let your campers have at it! They’ll love the moment their bubbles hit the paper. They can experiment with popping them or letting the bubbles sit until they pop on their own.
- Even though this is the fun part, less is more!
If you want a nice finished product try not to blow too many bubbles otherwise the colors can get very muddy as the paper gets saturated with bubble solution. We usually try to have campers make one nice piece of art with the nice watercolor paper and then let them go crazy making more on other paper we have on hand.
Step 3: Let them dry
- Let your campers’ masterpieces dry before you add their name, date, and the name of your summer swim camp.
Sensory Bottles
Sensory bottles are such a great activity to add to your camp curriculum. They can be customized to any camp theme and it is a great quiet (but still fun!) activity to break up the camp craziness! Have the campers keep their bottles at camp in case they need a moment of relaxation, emotional regulation, or just want to explore the tiny world they created in their bottle.

Here’s what you’ll need:
- Bottles (we found plastic Voss bottles work the best or Michael’s sells packs of empty sensory bottles)
- Water
- Food coloring
- Glitter
- Sand
- Beads
- Gems
- Tiny toys for whatever theme you’re making
- Whatever else you want to throw in there!
- Hot glue or waterproof silicon sealant
Here’s how to do it:
Step 1: Prepare your supplies!
- Situate the bottles and sensory materials in front of your campers. (*Important! Keep the bottle caps somewhere safe so that they don’t get lost in the process.)
Step 2: Make a tiny world in a bottle!
- Let your campers add their sensory materials to their bottles. They can go crazy with glitter and any other materials they want to add.
- Add your themed tiny toys. This is a popular activity for our Ocean Explorers Camp. Our campers add tiny ocean animals to create an ocean in a bottle!
- Add a few drops of food coloring. If the campers are making oceans give them blue coloring. If they are making magic potion bottles for Fairytale Camp they can create any color in the rainbow!
- Assist campers with filling their bottles with water. You want the bottles completely full with just a little bit of room for air.
Step 3: This is a grown-up step!
- Add hot glue or a waterproof silicon sealant around the mouth of the bottle making sure the threads of the bottle are covered.
- Screw the cap back onto the bottle tightly over the sealant.
Step 4: Play!
- Just make sure the sealant has set before letting the campers play with them!
Kinetic Sand
Sure you can buy kinetic sand at the store, but did you know there’s also a great recipe for DIY kinetic sand? We’ll tell you how to make the best kinetic sand for your little campers to dig their hands into!

Here’s what you’ll need:
- Play sand (we like to get different colored sand to make things more exciting)
- Flour (or cornstarch. We use flour because its cheaper and easier to buy in bulk)
- Cooking oil (we use canola oil again because it's cheap and easy to buy in bulk)
- Measuring cups
- Large mixing bowls
- Spatulas
- Cookie cutters
Here’s how to do it:
Step 1: Prepare your supplies.
- Get all of your ingredients and supplies set up for your campers.
Step 2: Make the kinetic sand!
- Rather than following exact measurements, we found it easier to follow a scoop ratio of 5:3:1.
- 5 scoops of sand
- 3 scoops of flour
- 1 scoop of oil
This way you can adjust the amount it makes. Make a huge batch for the whole group or individual portions.
- Help your campers add their 5 scoops of sand and 3 scoops of flour to their mixing bowls and let them mix it together with their hands (or a spatula if they’d prefer.)
- Now add 1 scoop of oil to the sand and flour. Have the campers mix the sand, flour, and oil until it is well combined and there are no more dry spots.
Step 3: Play!
- Let those campers get those little hands busy! Provide spatulas, spoons, and cookie cutters to play with. You can even add hidden treasure gems or toys to dig for!
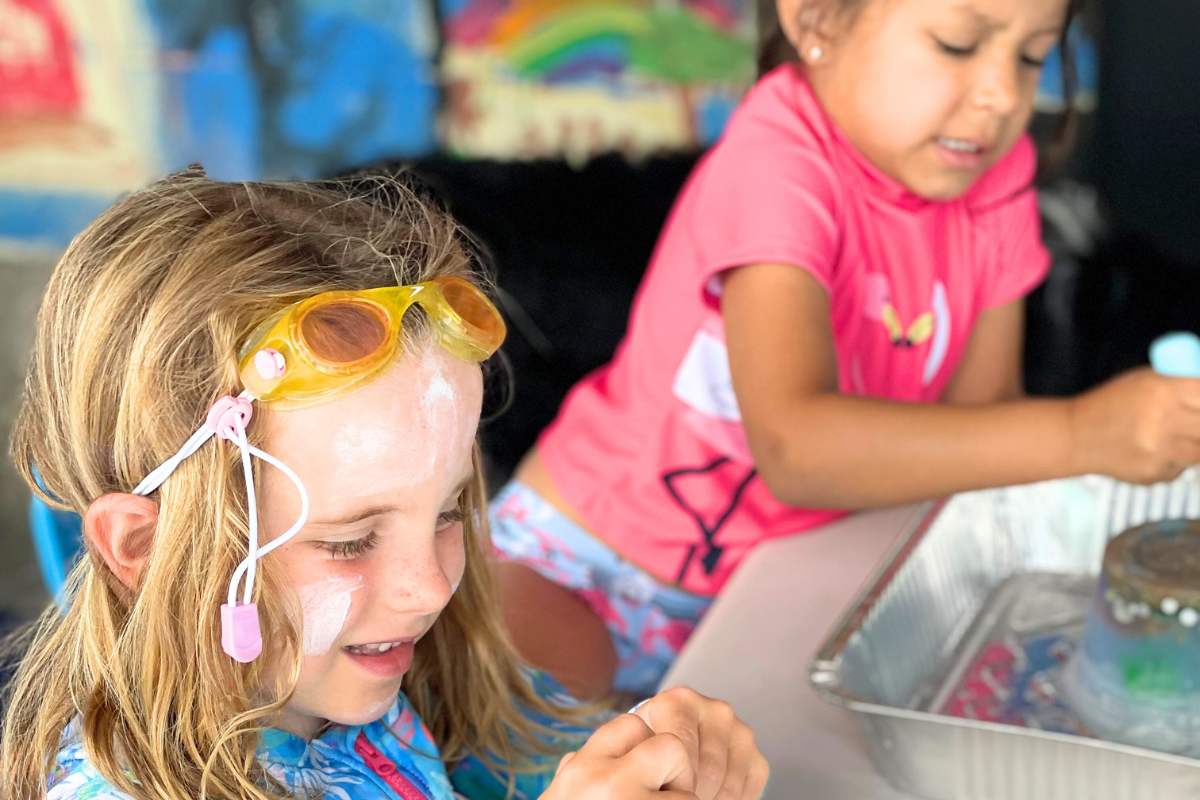
Ice Cube Sensory Play
This is always one of Makai Swim School’s campers’ favorite activities! It's especially fun on hot days. It can be incorporated into any themed camp lesson plan so we try to add it to all of our camps! It does take some grown-up prep work, but it’s well worth it.
We’ll show you how to make Ocean Ice Cubes for our favorite game Ocean Animal Rescue that our campers are playing here!

Here’s what you’ll need:
Prep supplies-
- Silicon muffin tray (or you can use individual containers if you want to make larger ice blocks)
- Sand
- Tiny ocean animal toys
- Shells
- Treasure gems
- Large pitcher
- Water
- Blue food coloring
Activity supplies-
- Aluminum baking trays
- Pipettes
- Warm water
- Squeeze bottles
Here’s how to prep:
Step 1: Prepare the ice at least 24 hours before camp.
- This is a grown-up step that is actually pretty fun!
- Prepare a large pitcher of water and add enough blue food coloring drops to make a light blue ocean water color.
- Fill each muffin cup with the blue water.
- Pour sand into each muffin cup to create a layer of “ocean floor”.
- Add a couple of ocean animal toys, shells, and treasure gems. Whatever you can fit into the muffin cup.
- Place the muffin tray into the freezer for at least 24 hours.
Here’s how to do it:
Step 1: Set up the activity.
- Get your campers set up with an aluminum baking tray to catch the melted ice.
- Provide them with squeeze bottles of warm water or bowls of warm water with pipettes or both! You’ll most likely have to provide your campers with warm water refills.
- Remove the ocean ice blocks from their molds and place them into the campers’ trays
Step 2: Have fun!
- Instruct your campers to rescue their trapped ocean animals using their warm water to melt the ice!
We hope you found these 5 Swim Camp Activities super fun! Try them at your own camp or try them at home with your littles!
Looking for more camp lesson ideas for your own swim camp?